Account Global Guide
The Account Global document is similar to the Account document, however it is used to assign identical attributes to multiple accounts on a single document. The Account Global Document is recommended for making simple modifications to a single account, or multiple accounts, as it has a simplified and expedited workflow.
In order to create an Account Global eDoc users must have the Chart of Accounts Maintenance User Role, which can be granted by Department Security Administrators (DSAs) in KSAMS.
Using the Account Global Document:
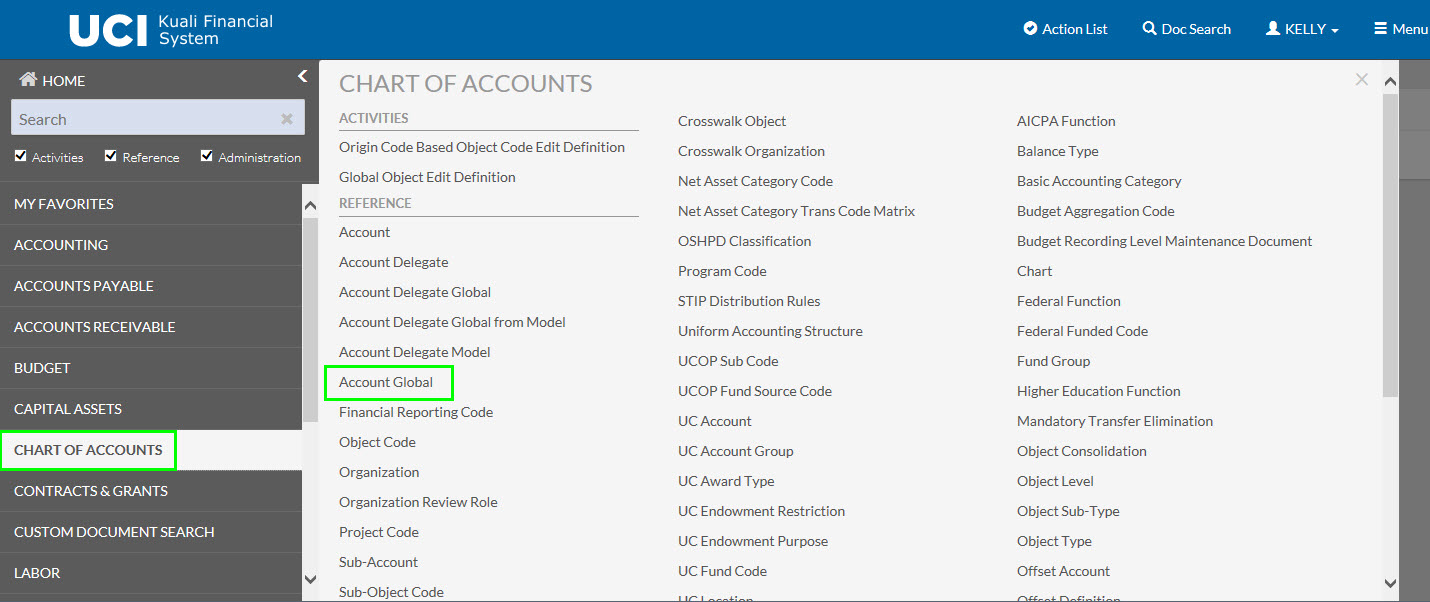
In KFS, select the Chart of Accounts portlet and click on the Account Global link.
In the Document Overview tab, enter a Description and Explanation.

The Account Global Document has two sections to fill out:
- The Global Account Maintenance tab to select the attributes you'd like to apply to the accounts selected.
- The List of Accounts section to select the accounts you would like to apply the attributes changes to.
Global Account Maintenance
Enter or Select the account attributes that are going to be changed for the accounts selected.
The most common attributes that department users will change are:
- Fiscal Officer Principal Name: The UCInetID of the new Fiscal Officer
- Account Supervisor Principal Name: The UCInetID of the new Account Supervisor
- Account Manager Principal Name: The UCInetID of the new Account Manager
- Closed Ind.: Check the closed indicator checkbox if closing the accounts.
- Organization Code: The new organization code that the accounts should report to. When changing the organization code of an account the user must be a Chart of Accounts Maintenance User for the new organization code as well as the old organization code.
- Sub-Fund Group Code
- Account Expiration Date
- Continuation Chart of Accounts Code and Continuation Account Number
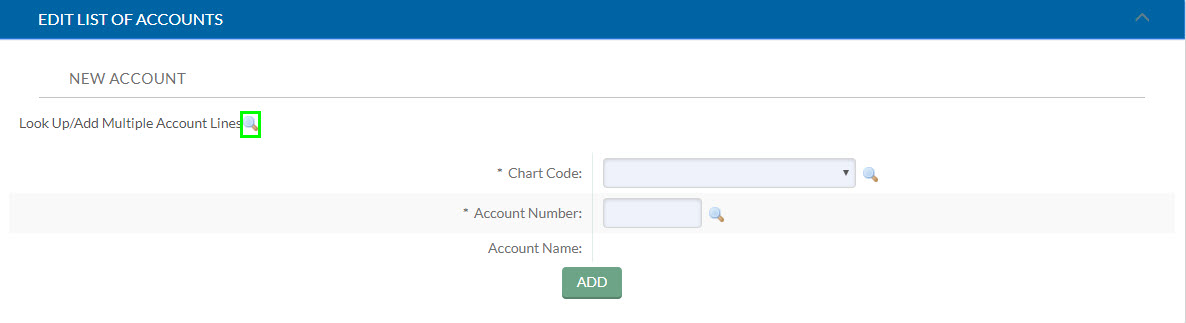
Edit List of Accounts
In this section, you can add the account(s) that you would like updated.
Adding Multiple Accounts to Edit at Once:
To add more than one account at a time, click on the Look Up/Add Multiple Account Lines magnifying glass.
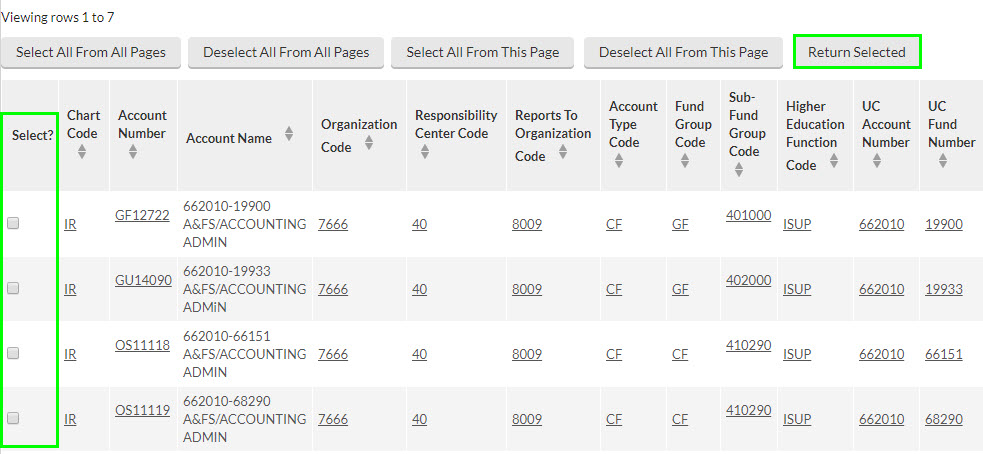
Search for accounts using Organization Code, Fiscal Officer or Other search criteria. Once the accounts are found, click the check boxes in the Select? column, then click on the Return Selected button.
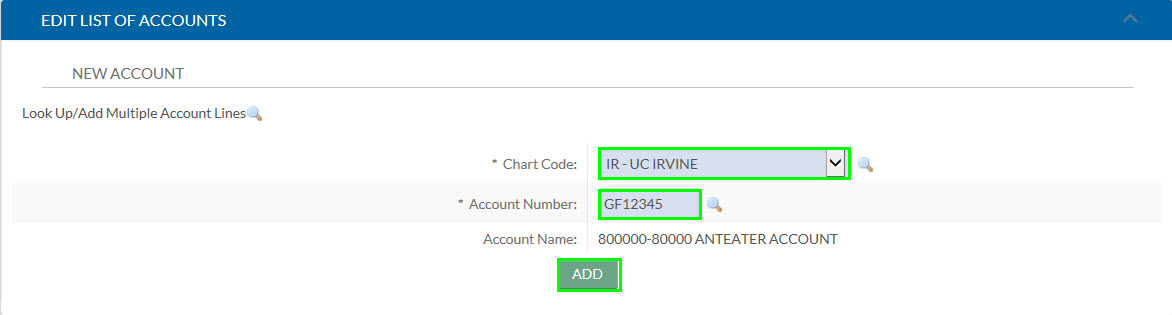
Adding Accounts to edit one at a time:
Chart Code: Use the drop down to choose the chart code that the account reports to.
Account Number: Enter the account number.
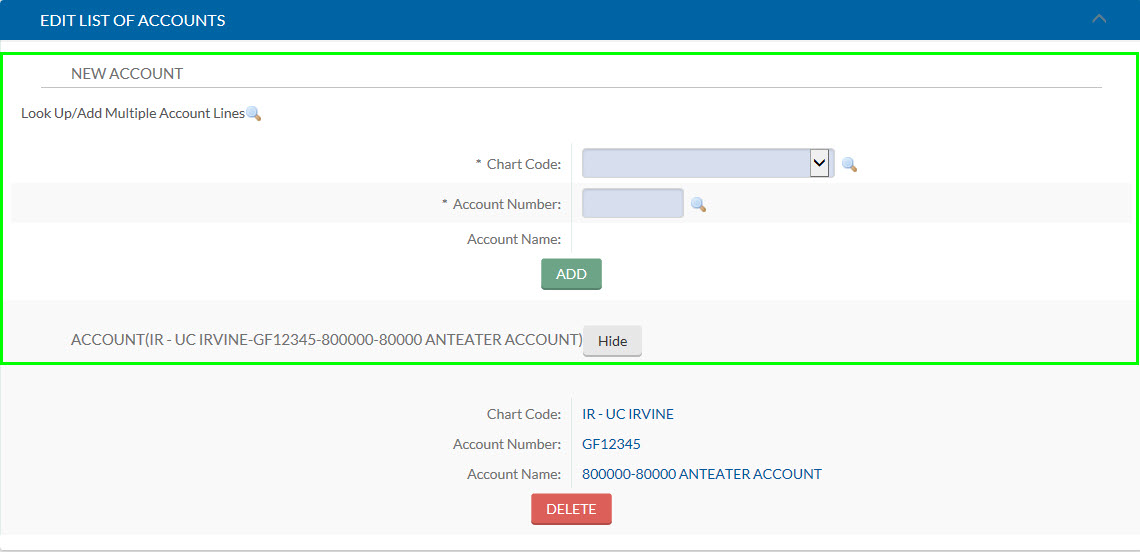
Click the Add button.
Once an account has been added, new Chart Code and Account Number fields will appear so that more accounts can be added.
Complete the Changes
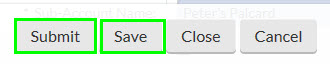
Once all required information has been entered Save and Submit the eDoc.